1
2
3
4
5
6
7
8
9
10
11
12
13
14
15
16
17
18
19
20
21
22
23
24
25
26
27
28
29
30
31
32
33
34
35
36
37
38
39
40
41
42
43
44
| import numpy as np
import cv2
import matplotlib.pyplot as plt
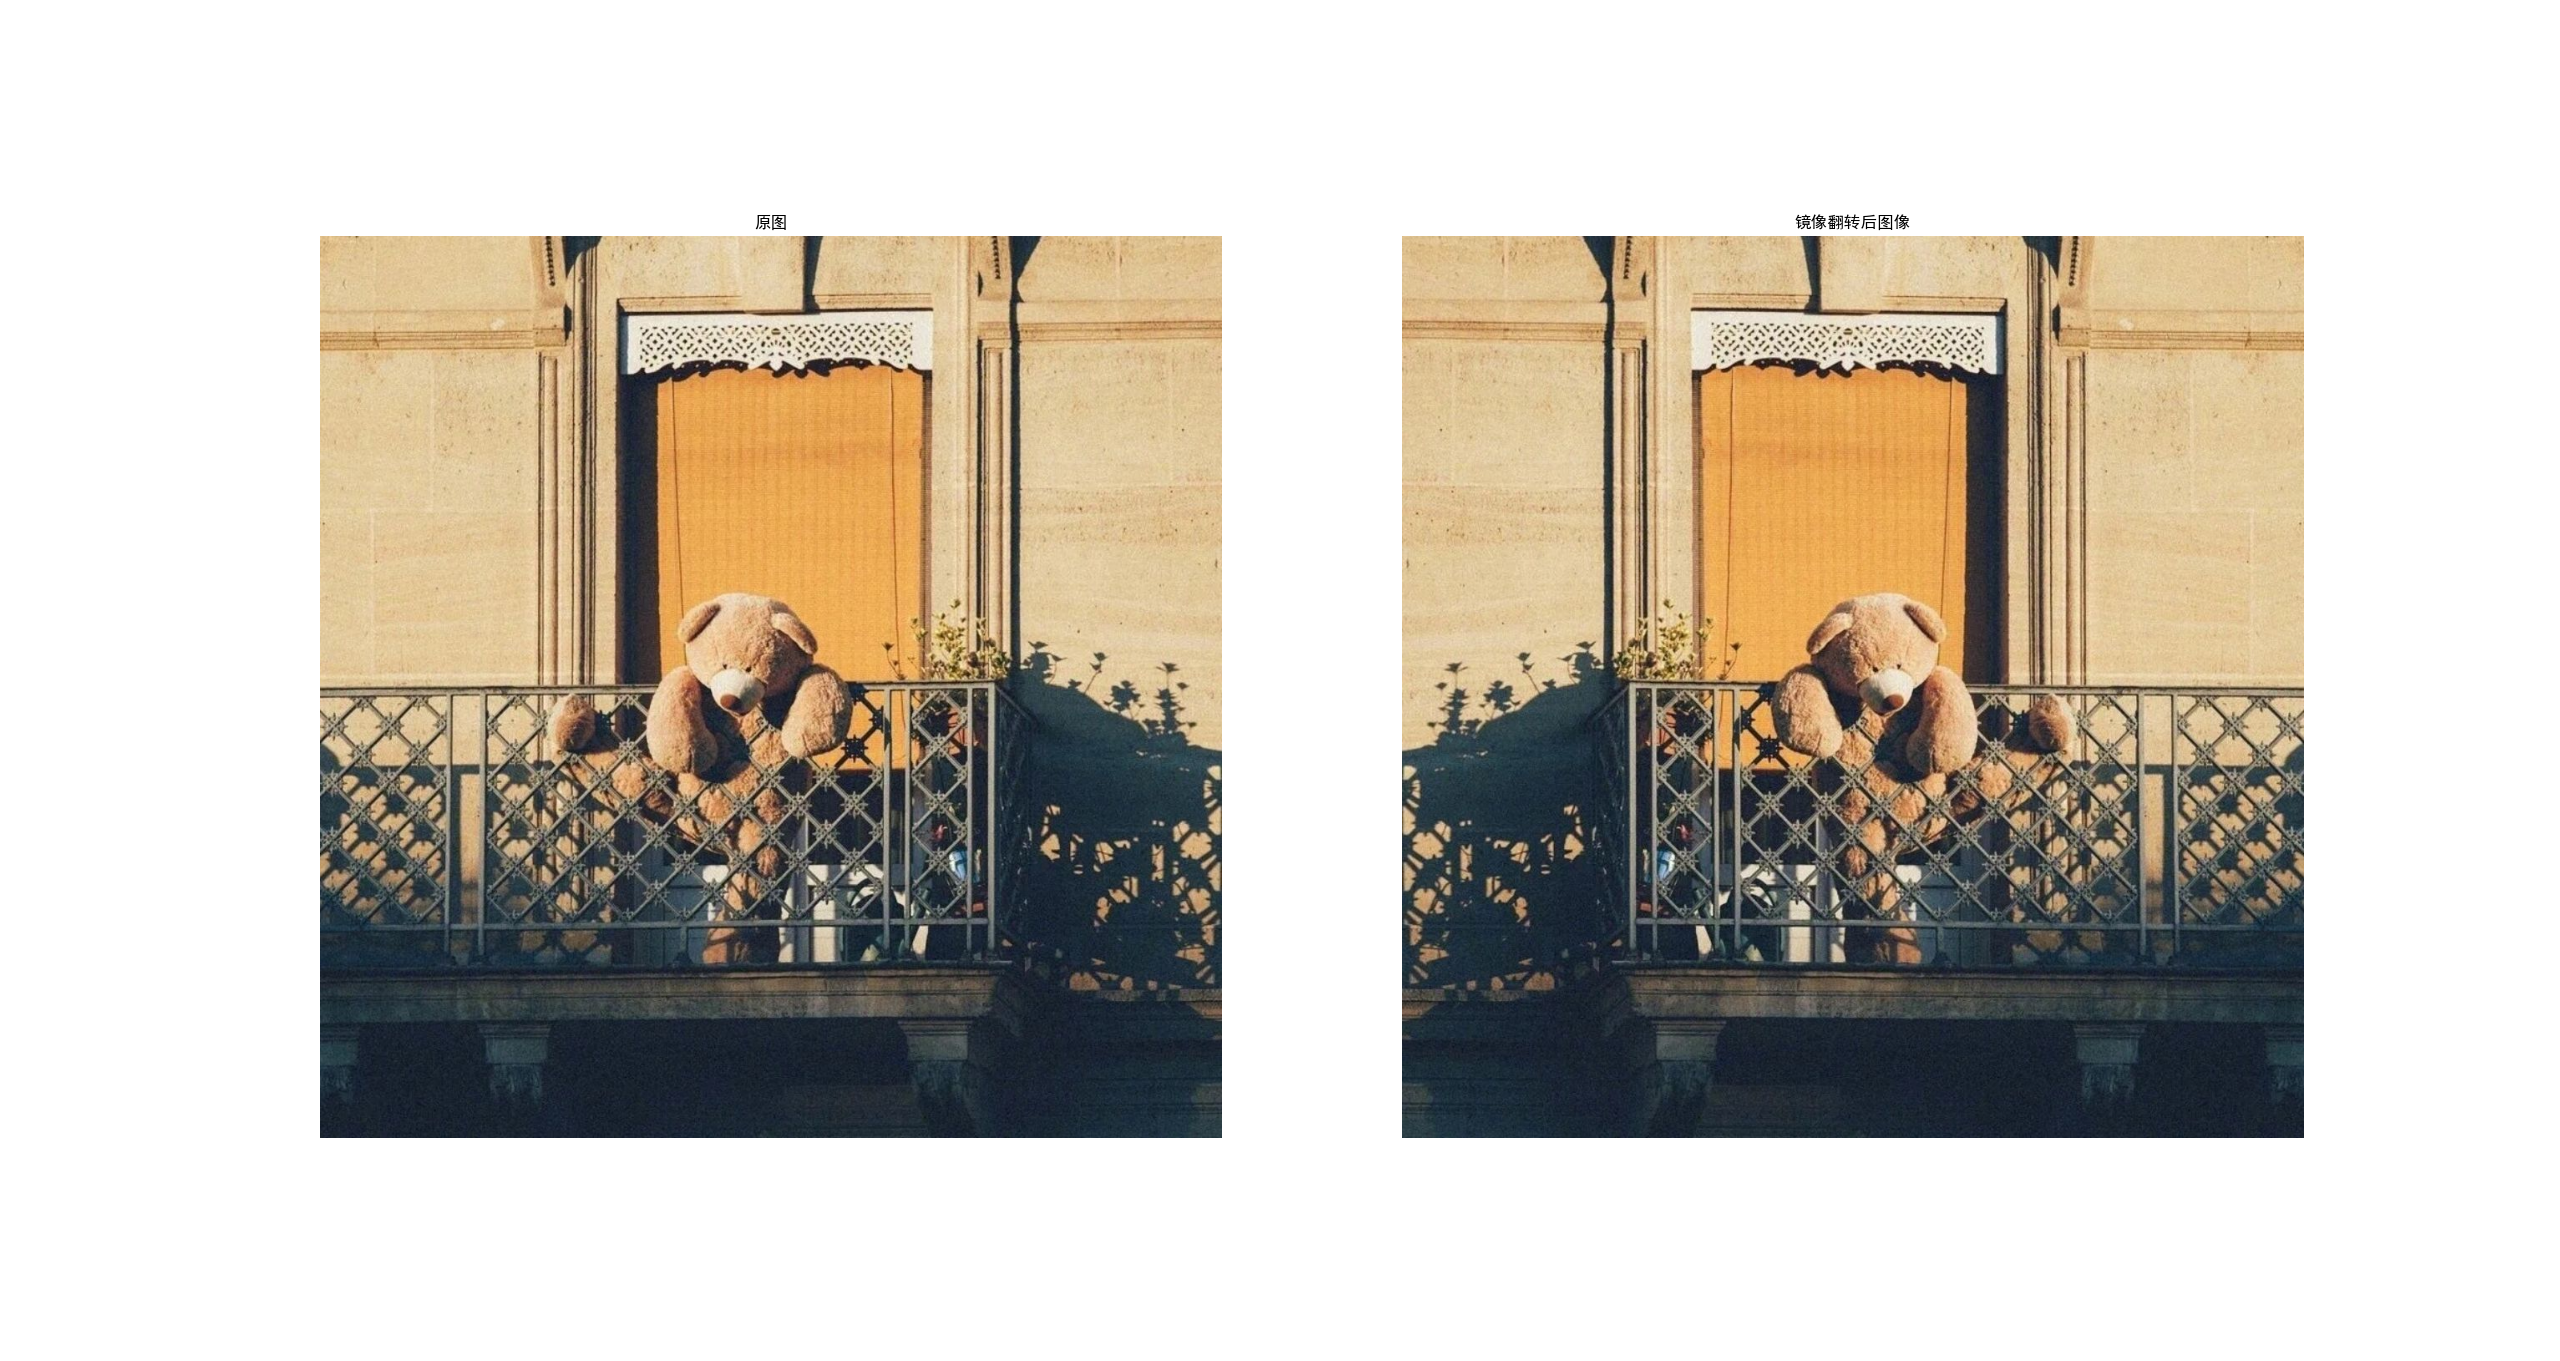
#图片镜像翻转
def left2right(img_path):
im=cv2.imread(img_path)
h,w,_=im.shape
result=np.zeros(im.shape,dtype=np.uint8)
for i in range(h):
for j in range(w):
#每一行倒序翻转
result[i][j]=im[i][np.abs(j-w+1)]
return result
def main():
img_path1='./1.jpg'
#保存图片路径
img_path2='./result'+img_path1.split('/')[1]
#得到镜像翻转后的图片数据
result=left2right(img_path1)
#保存为图片
cv2.imwrite(img_path2,result)
#结果展示
#opencv的颜色通道顺序为[B,G,R],而matplotlib颜色通道顺序为[R,G,B],所以需要调换一下通道位置
plt.rcParams['font.sans-serif'] = ['SimHei'] # 中文乱码
#子图1,原始图像
plt.subplot(121)
#imshow()对图像进行处理,画出图像,show()进行图像显示
plt.imshow(cv2.imread(img_path1)[:,:,(2,1,0)])
plt.title('原图')
#不显示坐标轴
plt.axis('off')
#子图2,镜像翻转后图像
plt.subplot(122)
plt.imshow(result[:,:,(2,1,0)])
plt.title('镜像翻转后图像')
plt.axis('off')
plt.show()
if __name__ =='__main__':
main()
|